A failed compressor directly contaminates the refrigerant system. Therefore, when you are evaluating cleaning methods for a burnt-out refrigeration compressor coil, you must pay attention to system contamination. Failing to treat the system and directly installing a new compressor will generally cause it to burn out after one or several months of operation. In many cases, this happens quickly. Therefore, before use, we recommend considering the best cleaning methods for a burnt-out refrigeration compressor coil. This ensures proper treatment of the compressor.
Compressor Coil Cleaning Methods:
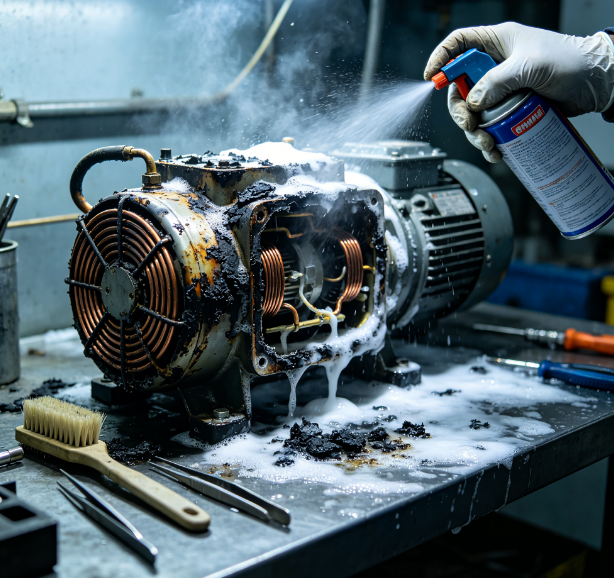
Replace compressor if oil smells burnt, discolored, pipes are red, and metal is acidified. Afterward, install a new dryer. Next, pressurize to 10K with N₂ to check for leaks. Use proper cleaning steps for burnt compressor coils, especially if you suspect contamination. If no leaks are found, drain the gas from both the high and low pressure sides. Simultaneously, create a vacuum at both ends.
If the system oil and refrigerant have a foul, burnt, or spicy smell, and the oil is black like ink, with a black film of grime inside the pipes and moisture present, remove the dryer. Then short-circuit this part using a copper pipe connector or a temporary detachable connection. Next, use a chemical pump to pump a cleaning agent (TCA, DCM) into the piping system through a high-pressure pipe for cleaning and circulation. These steps serve as essential cleaning methods for a burnt-out refrigeration compressor coil in severe contamination cases.
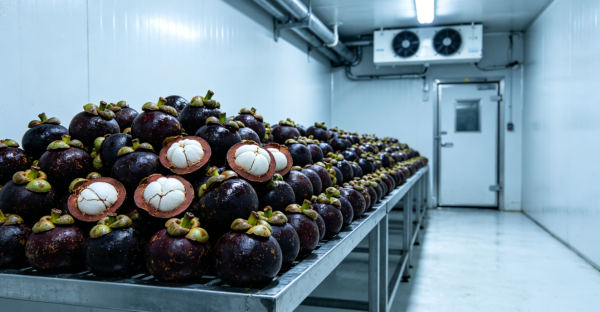
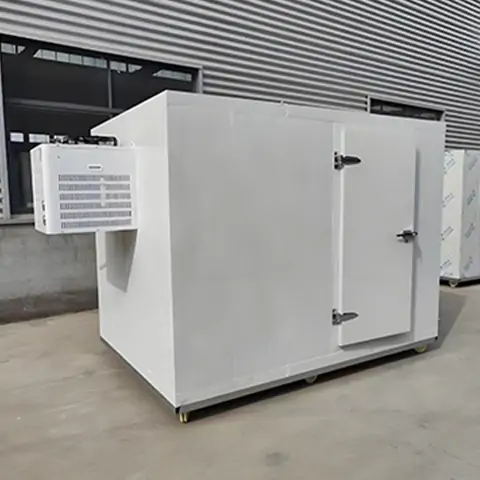
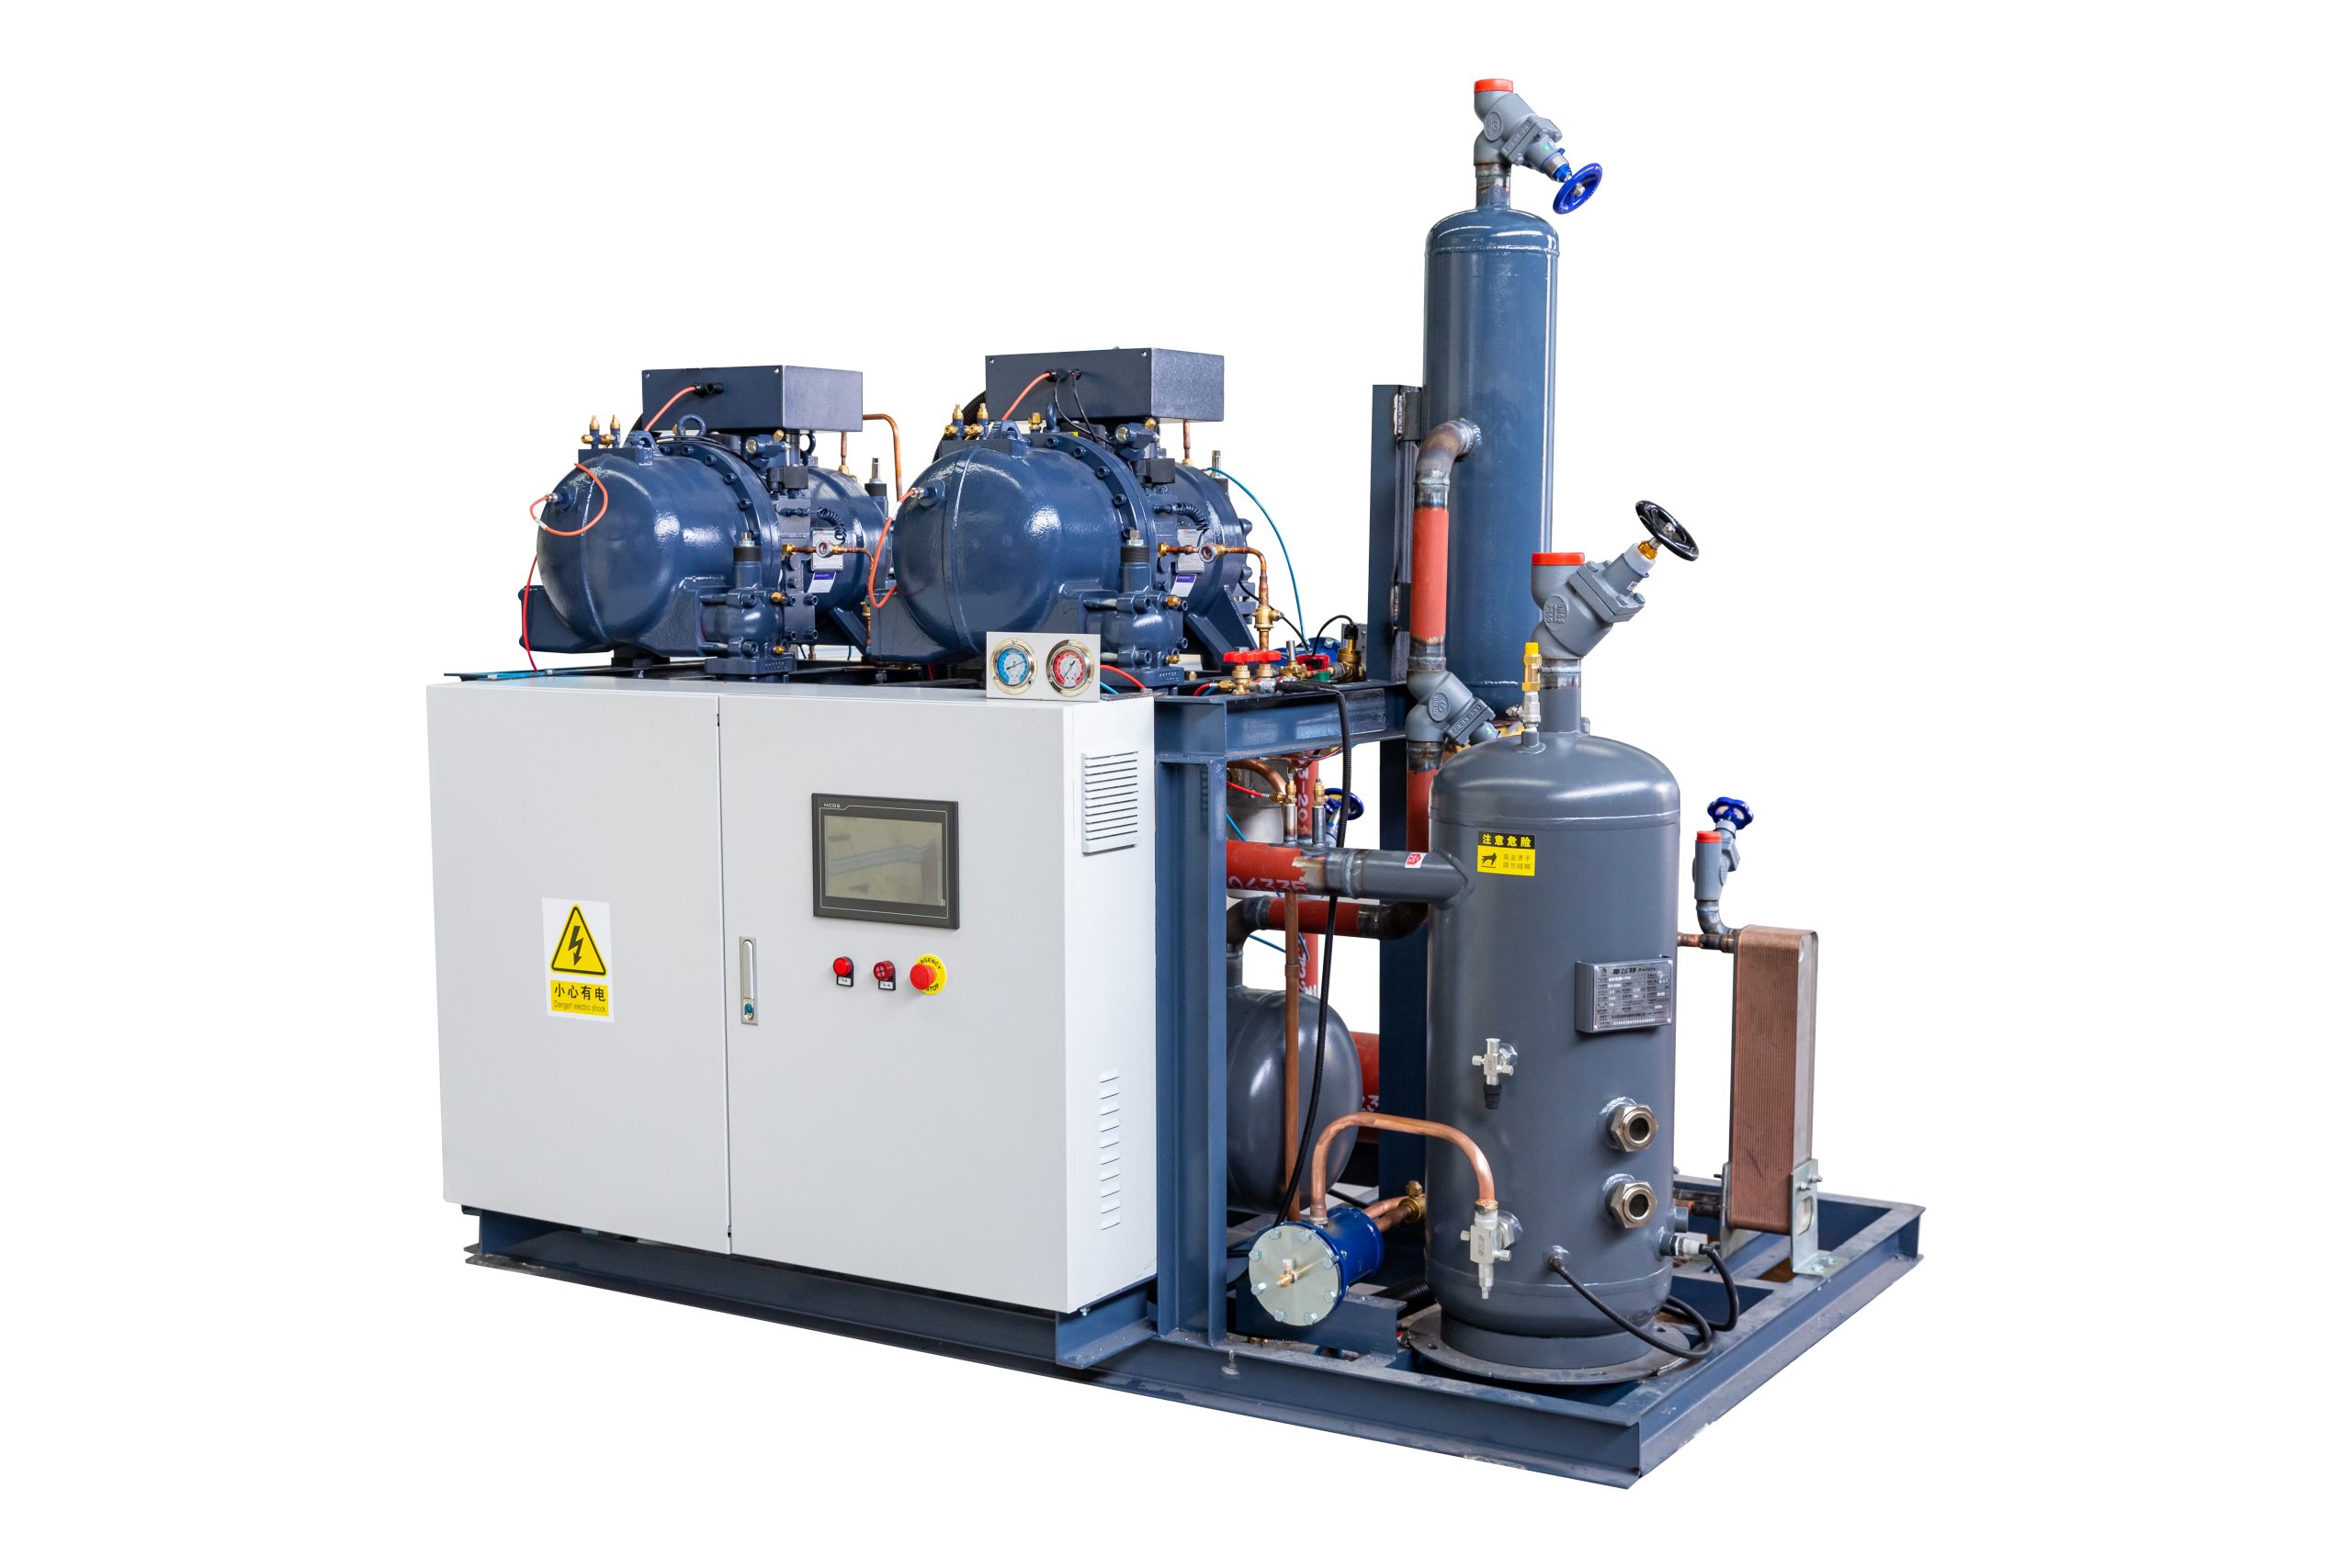
Welcome to inquiry about products related to walk in freezer, condensing unit, and panels.
You also can check our Tiktok, Youtube, Instagram channel for more video show. In short, for reliable performance, cleaning methods for a burnt-out refrigeration compressor coil should always be correctly implemented.